
Mushroom Cakes Free Pattern
September 8, 2026
Materials
Yarn for Cap
White or Cream Yarn
Pink Yarn
Safety Eyes (I used 12mm)
Crochet Hook (I used 5mm)
Stuffing
Tapestry Needle
Stitch Markers
Scissors
Abbreviations
sc - single crochet
inc - increase
dec - decrease (invisible)
slst - slip stitch
hdc - half double crochet
hdc inc - half double crochet increase
FLO - front loops only
BLO - back loops only
MR - magic ring
( ) - # of stitches at the end of each round
This pattern is worked in continuous rounds.
Using the yarn for the cap...
Round 1: 8sc in MR (8)
Round 2: 8inc (16)
Round 3: (3sc, inc) x4 (20)
Rounds 4-5 (2 rounds): 20sc (20)
In the next round, mark the first unworked back loop with a stitch marker.
Round 6: Working all in FLO, (hdc, hdc inc) x9, sc, inc (30)
Change to white or cream yarn.
TIP (optional): If you want the rim of the cap completely smooth all the way around, you can make an invisible fasten off after round 6, then attach your white yarn separately to where the stitch marker is located. Continue to round 7 as normal.
Round 7: Working all in the remaining BLO (where your stitch marker is), 20sc (20)
Rounds 8-11 (4 rounds ): 20sc (20)
Place safety eyes between rounds 9-10 with 4 stitches between.
Round 12: 10dec (10)
Stuff mushroom.
Round 13: 2dec (8) *Do not finish this round.*
Slst in the next stitch and fasten off leaving a tail for closing.
Use the remaining yarn tail to close the hole by weaving through the FLO of the last round and pulling closed.
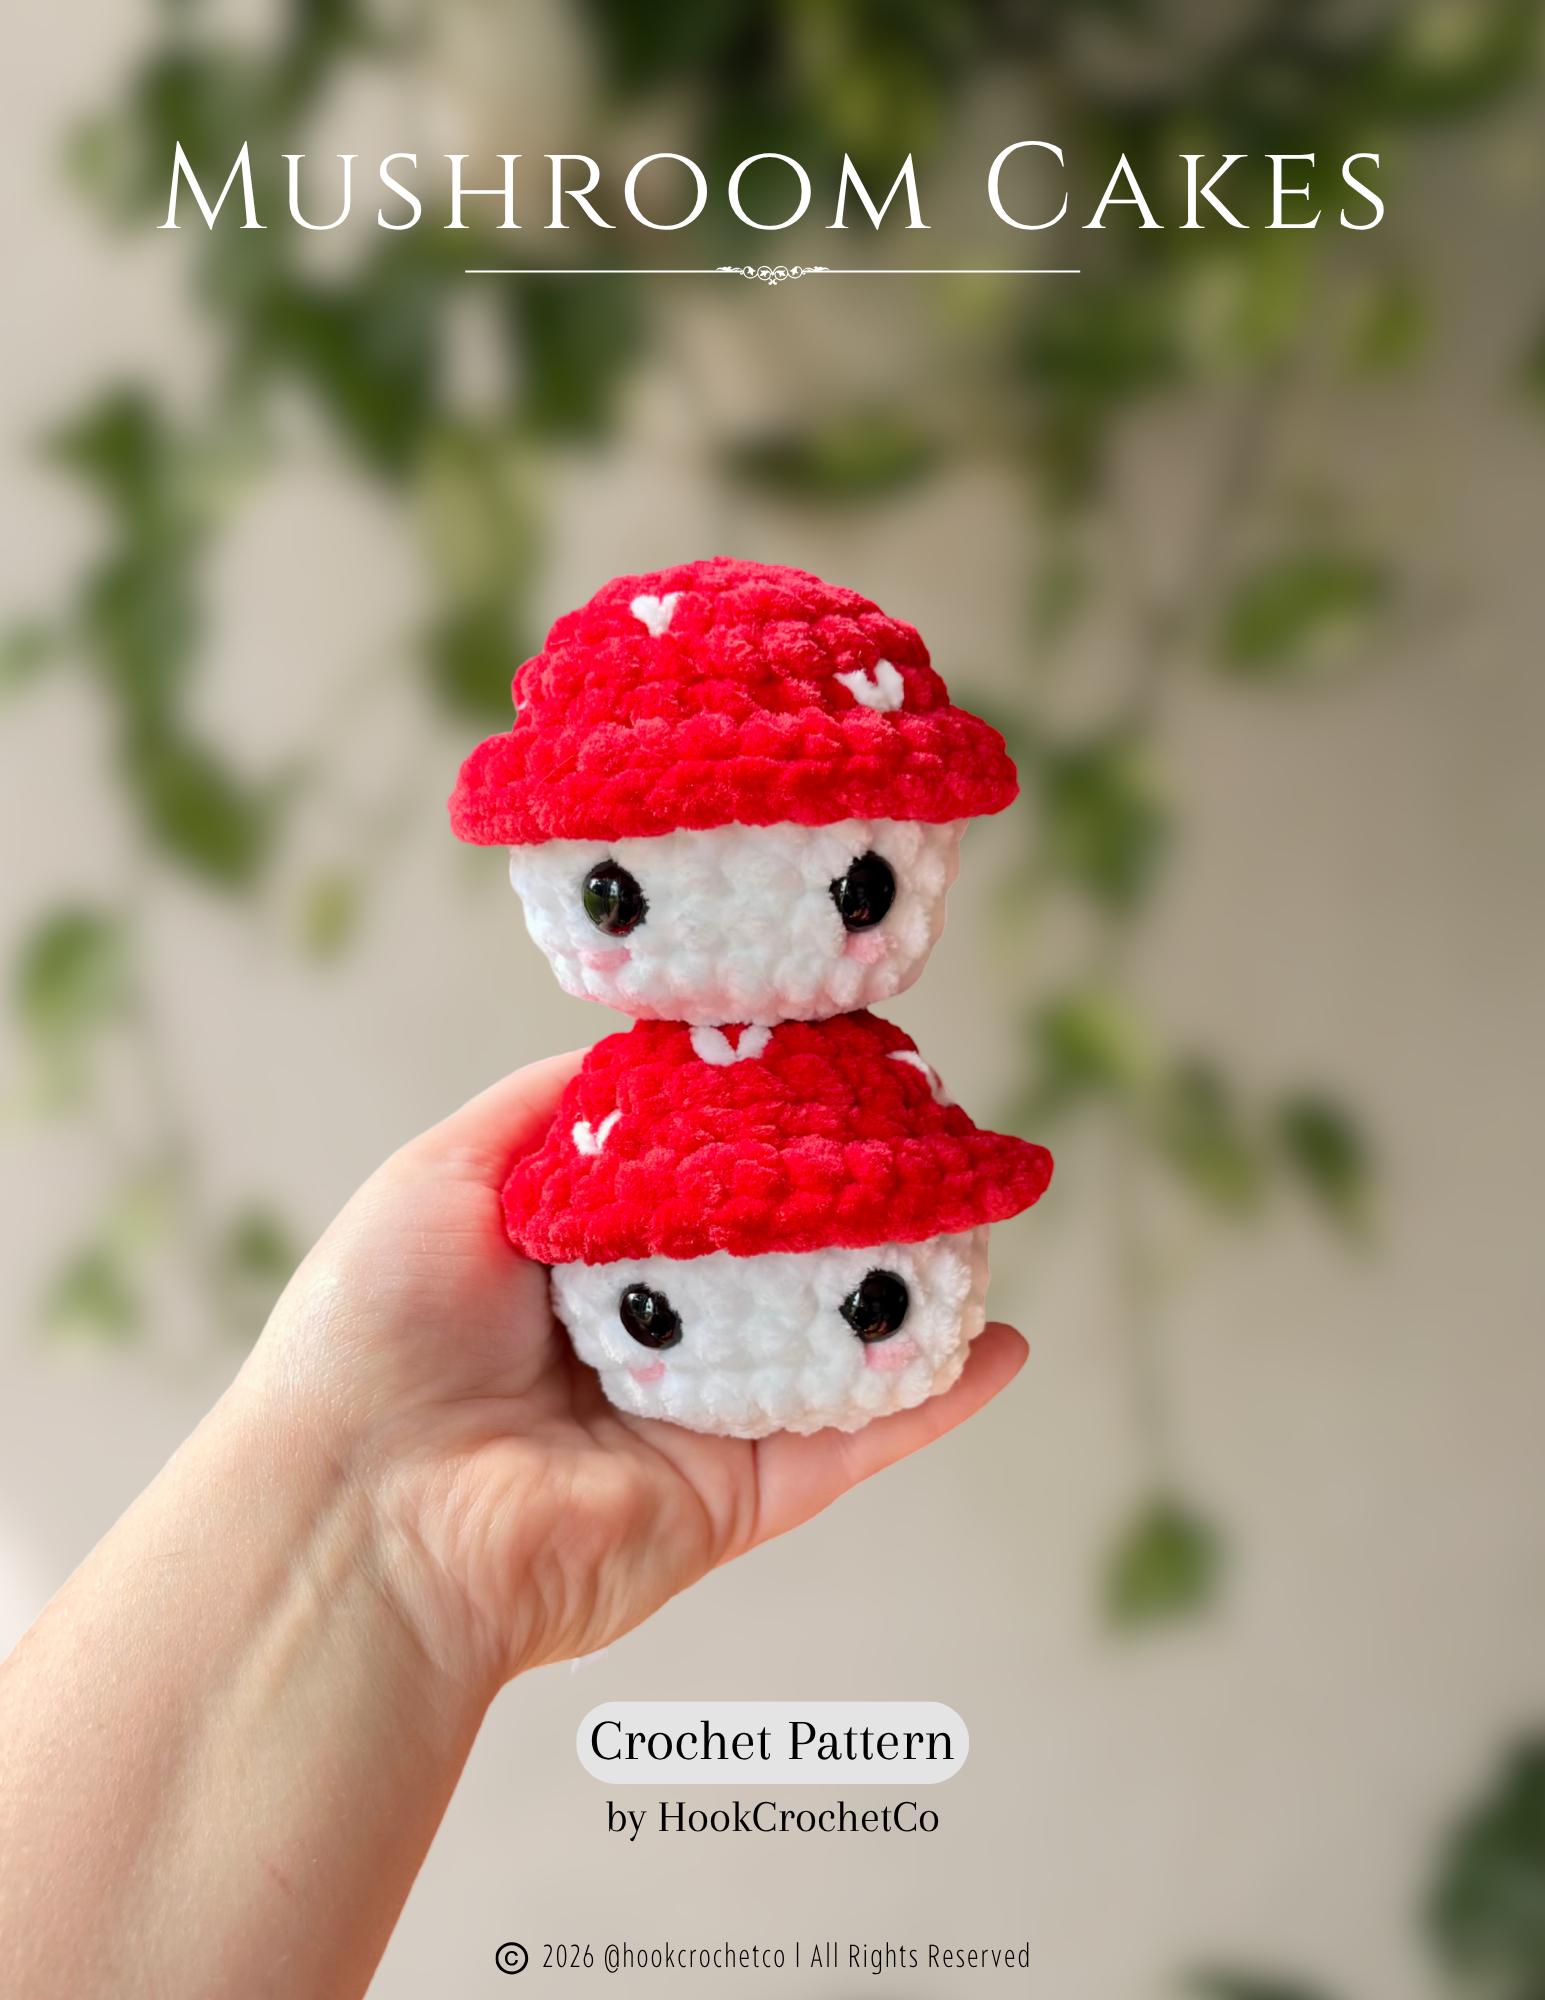
Spots: Using white yarn, embroider spots to the top of the mushroom cap (as many or as little as you want).
Blush: Using pink yarn, add blush under the eyes.
You're Finished!! I hope you enjoyed this pattern! I'd love to see your makes, so feel free to tag me in any pics on Instagram! 💕
xx Carlina